
With the winter gone – can spring be far behind? As you watch the snow melting and the mild sunshine giving rise to a few tufts of grass – you know it is time for splurging on some spring lawn care. With the costs ranging between – $48-$206, how about trying out some DIY techniques to bring back the much-required feel of life to your lawn?
In this article, you will get some handy tips to care for your lawn and prep it up as you enter the summer. Let’s dig deeper –
Table of Contents
What steps to follow in this spring lawn care regime?
For starters –
Step 1 – Raking
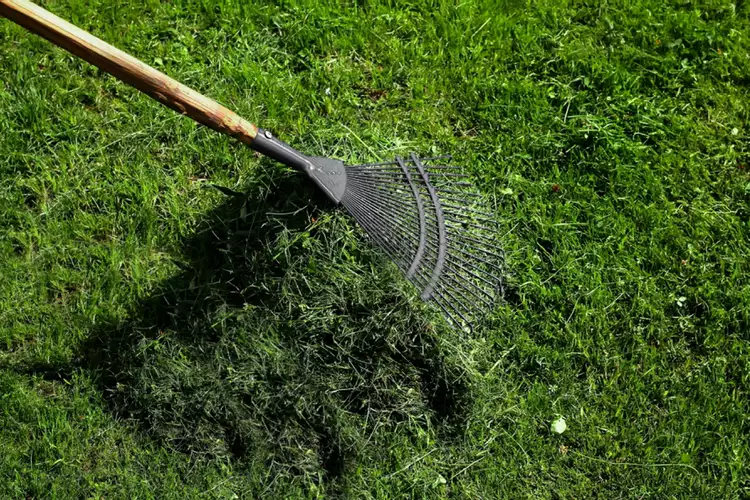
This is the first step that you will have to take. Alternatively called the thatching process, this involves removing the turfgrass, which during the winter becomes thick. A natural thin layer of thatch protects the soil from degrading. But when it stretches beyond the required depth, this prevents new grass from growing.
- You will have to gently start the raking process so that it does not pull out a lot of grass in the first instance.
- Also, you might see, while doing the same – a handful of grass blades stuck together. It is perhaps due to snow mould (a lawn disease), and therefore gently rake that area to remove the affected grass.
- While you are raking, ensure that the soil is not soft (definitely not to the muddy level). It should simply be moist enough to continue with the raking process.
- Since this is the first rake that you are doing – use the specified spring tine rakes)
Step 2 – Aerating the area
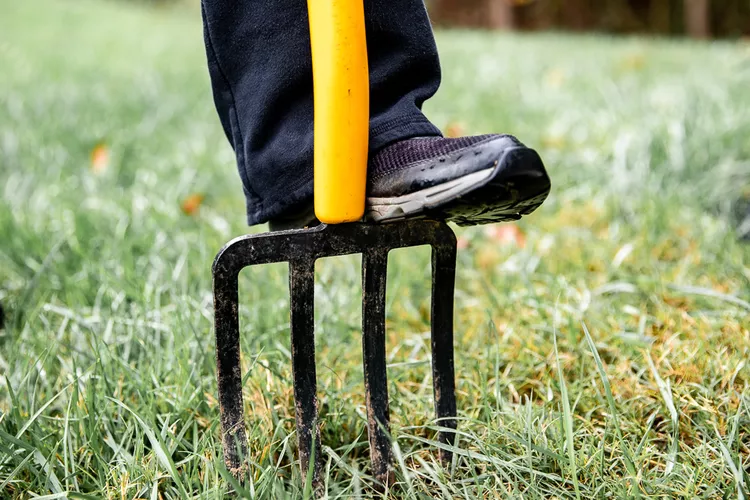
Once you are done with the raking, the next step in this spring lawn care regime is – aerating the space. You might already know that highly compact soil is not good for the growth of plants. Does your lawn have high foot traffic? Then, despite all the cautionary tales about how spring is not the correct time to aerate the soil and it might lead to weed growth, you will have to do the needful.
It is advised you use – either plug aerators or spike aerators. This will create small holes all over your lawn and allow water and nutrients to pass down, nourishing the soil.
Step 3 – Understanding the soil condition

When you are done with the aerating process, you will see for yourself that certain areas will come out with a coating of moss. Now going back to those chemistry lessons, you must remember – how the neutral value of soil is fixed at 7, with less than that being acidic and a pH higher than that being alkaline.
Once you have checked the acidity or alkalinity of the soil, you will have to look for alternatives to bring it back to the natural pH. If you have acidic soil, then you can add ground limestone to gain back the neutral levels. For alkaline soil, you will have to add a fertilizer spread to regain the neutral value.
Step 4 – Overseed the soil
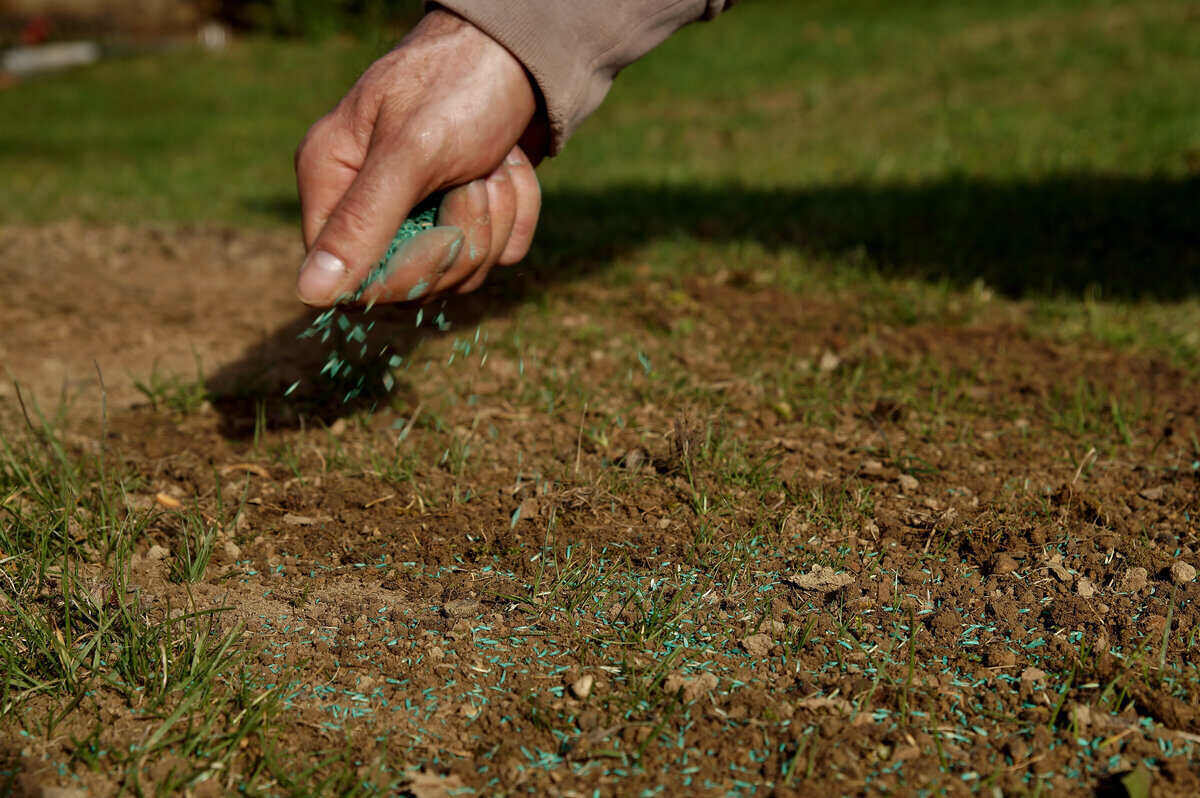
Once you are done understanding the situation of the soil, the next step you must take in this spring lawn care technique is – overseeding, i.e. sowing seeds over the existing grass. By doing so, you will better the health of the soil and also introduce some new varieties of grass seed into your garden area.
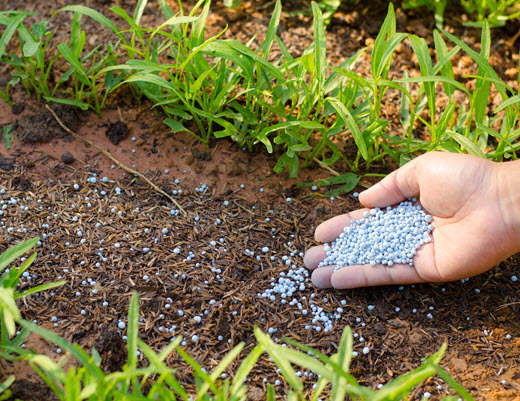
Step 5 – Fertilise the soil
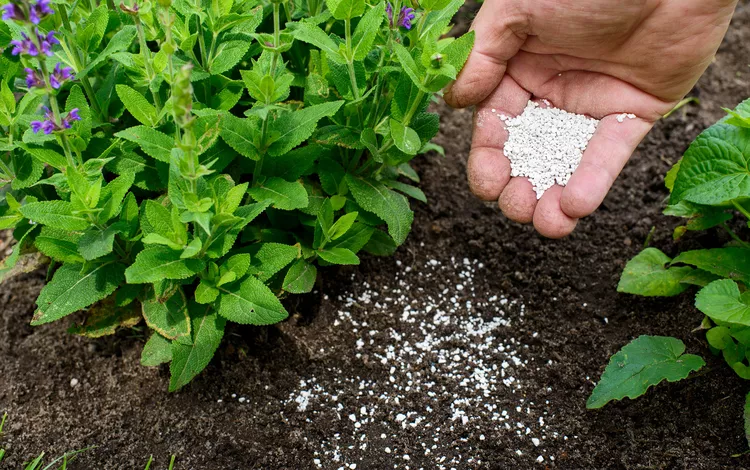
For the unversed – this overseeding will not be complete until you fertilize the soil. Here, you may use the more organic top-dressing fertilization process or may use mulching powder. When you are picking up a mulching powder to enhance your spring lawn care techniques, you must ensure that the fertilizer is of the slow-release high nitrogen type.
Apart from nitrogen, this must-have potassium and phosphorus content. If nitrogen enhances growth, both potassium and phosphorus improve the roots of the plant. Therefore fertilize the soil accordingly.
Step 6 – Add the required herbicides and lime the lawn
This is an alternative step. If you have not used fertilizer, you may use an herbicide and lime combo to enhance the soil’s health. Do not use both techniques simultaneously.
While you use this technique, you will have to remember that – depending on the type of weed, you may use pre-emergent (attacks weeds before they emerge by creating a protective cover) or post-emergent herbicide (works on the weeds). Once that is done, you will then have to lime the herbicide-used areas for better protection.
Step 7 – Remove the spring weeds
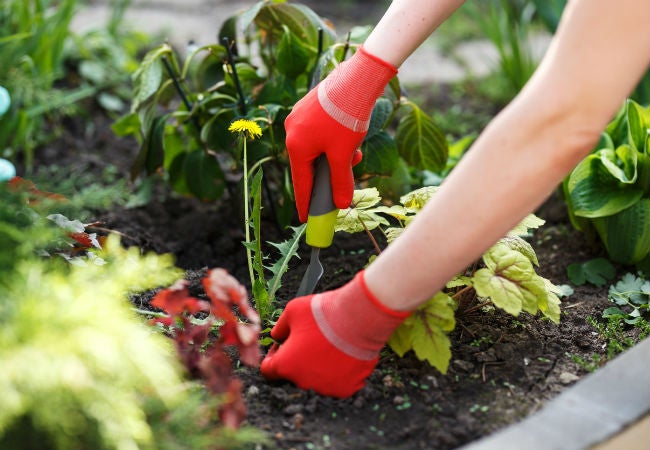
You have to do this when you have used the fertilizer to enhance your soil (since when you use herbicide, you remove the spring weeds first and then use this lime herbicide combo). Though spring supposedly brings new growth, before that, it can also bring a host of spring weeds, which can be quite stubborn to pull out. There are multiple weed-popper tools available that you can use to remove these weeds – before you start watering and mowing the lawn.
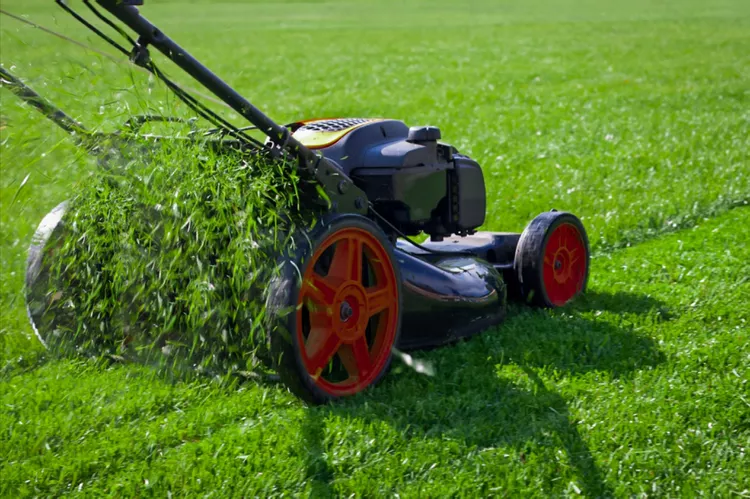
Step 8 – Water and mow the lawn

This is the last step in the spring lawn care regime that you will have to follow. Now that you have aerated and fertilized the lawn, you will have to water it. You must water your lawn before 10 am and ensure that it penetrates deep into the soil.
Then lastly, mow the soil from where the ground is dry, and the grass is long. Also, the best time to mow is early evening. Read the associated manual to get an idea about the times mowing is required for your lawn.
A cautionary note
As you have already seen, you will need a couple of high-end tools to go ahead single-handedly with this spring lawn care regime. One may assume that you already have them at your disposal. If not, be cautious and stick to reputed brands while buying the required tools. The same goes for the fertilizers and seeds that you choose to use.
Final thoughts
This whole spring lawn care regime is one challenging task starting with raking and ending with mowing the lawns. If you follow this DIY strategy and plan to do the needful yourself, one may advise that you do a patch test of a specific area and see the results before going full-blown over your yard. If you have some thoughts or want to know more about the techniques, do revert to this site for more updates!