Do you have rolls of wrapping paper at your home, that you have no idea how to deal with? Well, it is time to create something out of that wastage! With the world shouting about reusing your goods and making the world garbage-free, it is time you learn some tricks. In this know-how guide, you will get to learn how to make a bag out of wrapping paper that has been left unused at your home.
As you scroll down, we’ll start off by giving you ideas about the items you will require for making the bag, and the process that will be followed to curate the same. Let’s check out the specifics –
Table of Contents
What will you need to make the bag?
Here are a couple of things you will require to make a bag out of the old wrapping paper at your home –
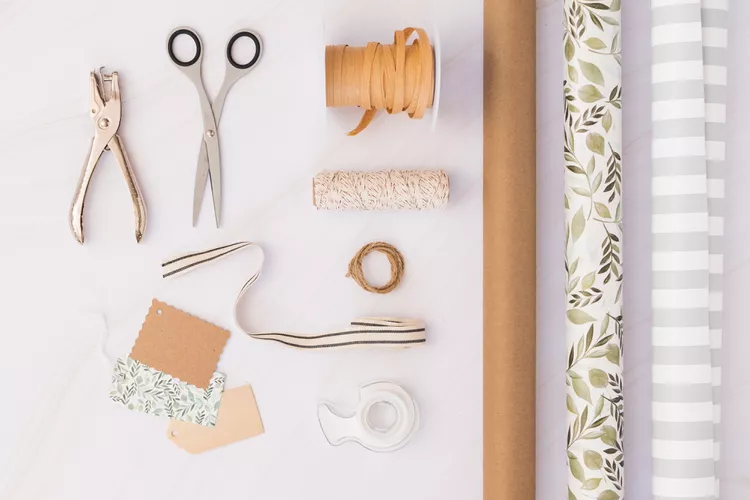
- Wrapping paper – whatever the leftover paper is there. If it’s 1 roll of paper that would be great. If it is a couple of small gift papers, you must tape all of them well first.
- A pair of satin ribbons or a cord
- Scissors
- Adhesive (hot glue or double-sided tape works best)
- Pencil/Pen and ruler
- Hole punch (optional)
- Scrap cardstock (optional)
How to make a bag out of wrapping paper?
Here you will get a step-by-step idea of making the bag from wrapping paper –
Step 1 – Start by measuring the wrapping paper and cut the same accordingly
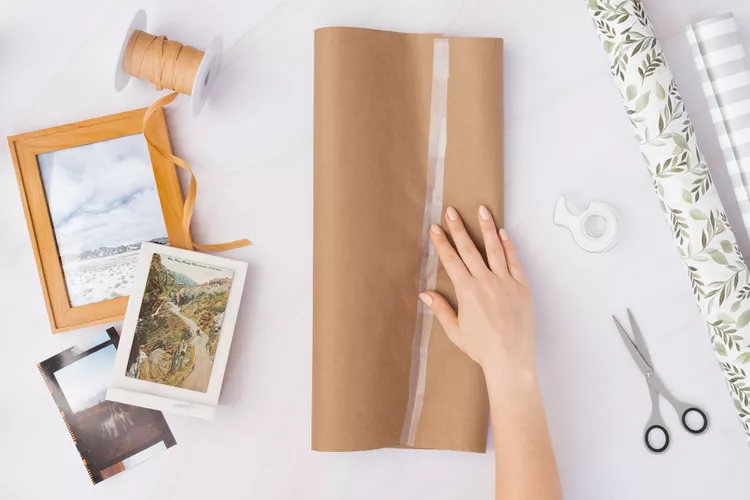
In this case, one assumes that you want a mid-size paper bag. For that, you must measure the paper in a 40 cm X 50 cm format (around 15 inches). This is a mere demo, and you can change the measurements as per your requirements.
Step 2 – You must fold the wrapping paper correctly
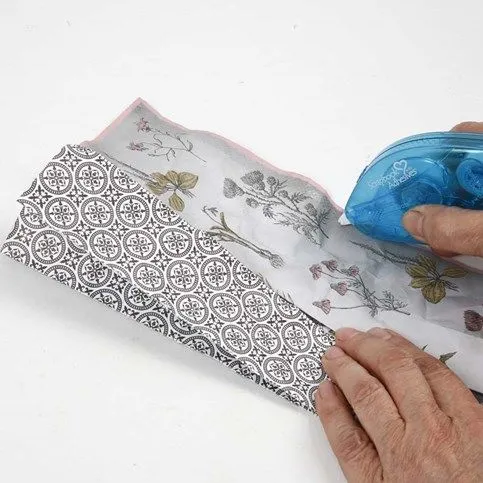
This is another crucial step you must take care of. Fold the paper lengthwise into half so that the shorter edges of the paper come together. This will be the base-width of your bag and will give you a center point.
Step 3 – Unfolding and setting up the paper bag
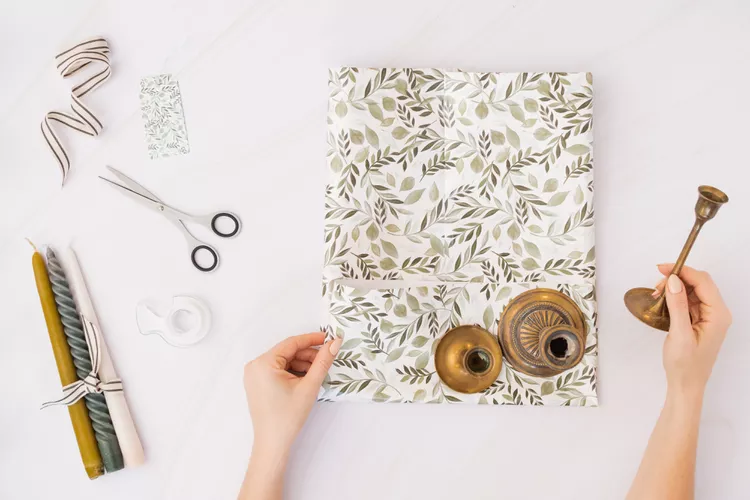
For those trying to learn intently how to make a bag out of wrapping paper let’s inform you that this is the crucial part of the process. You have already got your center point, and hence, from here, you will have to fold the shorter sides. Now, this fold must be done in such a way that the shorter sides must be towards the center creasing point. At that point, the edges must cross over in such a manner that you can either tape or paste the ends of them together.
Lastly, take a pair of blunt scissors (a butter knife would also be good enough) and press firmly along the crease to get a set of sharper edges.
Step 4 – Create the base of the paper bag
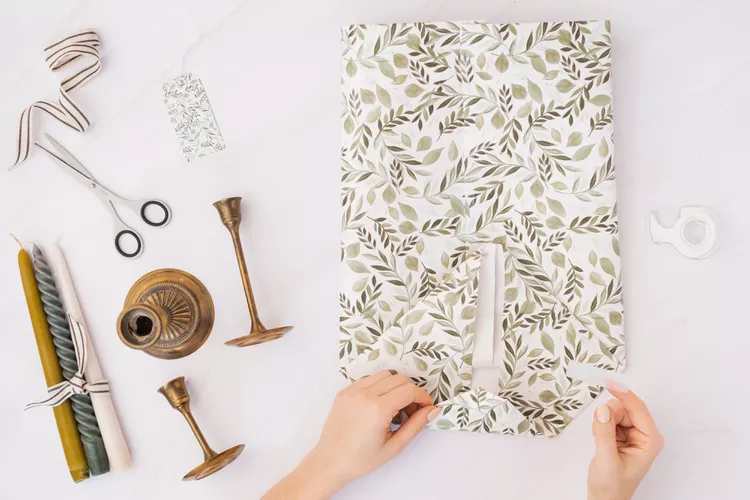
In this step, you must be extra cautious since the base must be in a symmetrical format. If the base is not symmetrical, then, that would spoil all your efforts and the wrapping paper bag would not come out well.
Hence, for this, you must fold the edge of the bottom, almost about 2 inches (approximately 5 cm). Once you unfold it, automatically, you will see that the creases form two corner flaps on the side.
Step 5 – Create the diamond on the base
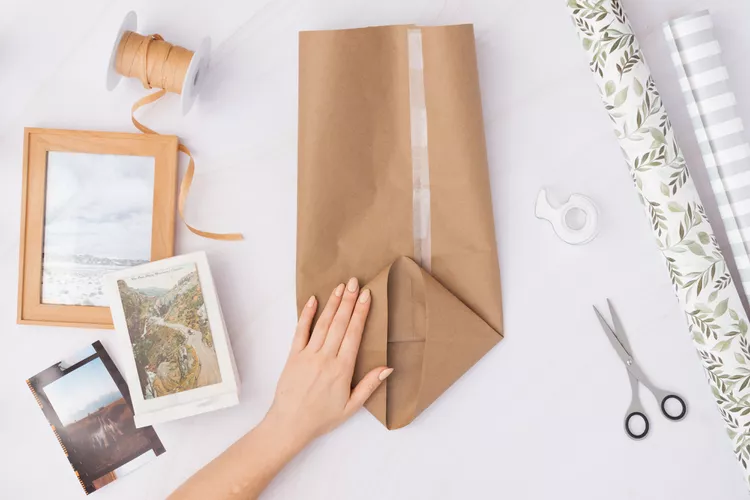
Approximately, the base is ready, with the corner flaps hanging. Now you have to take those corner flaps together and press them inward. Then from that, you will have to create a diamond-like format (following the traditional hexagonal pattern) and take the bottom and upper part of the diamond edges and fold them. Ensure that this fold is towards the center and secure the edges with glue.
Step 6 – Carve out the sides of the bag
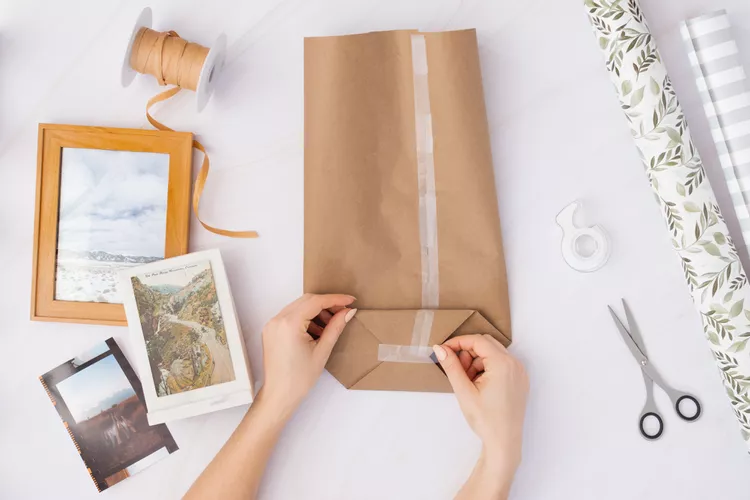
Take the creases of the bag and fold them approximately in a way that they have a width of 2 inches (5 cm) along each side. On that, fold over the top as well as the crease by another 2 inches (5 cm). When all the folds are done, simply unfold them together.
Step 7 – Giving the final touches
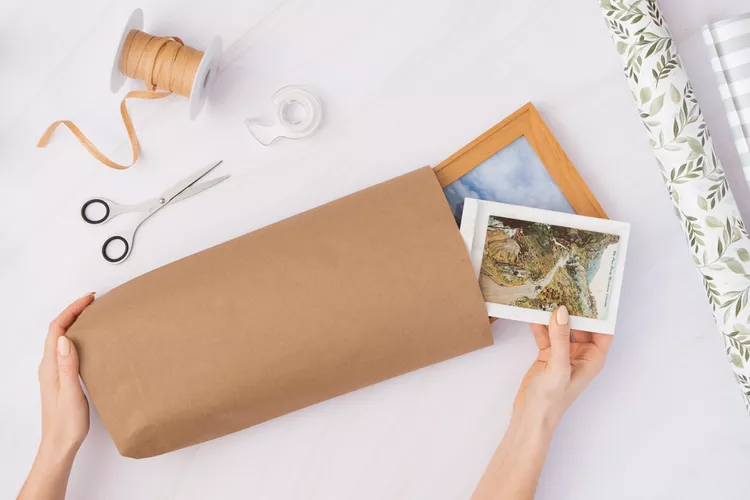
Are you here with us? Well, this is almost the final step of carving out that paper bag out of unused gift paper. To create the upper edge, you must fold over the edges of the paper that is straight at the top. There is no specific dimension for this. You will simply have to fold the basic length, which should approximately be enough to create a paper bag edge.
After that, pinch the creases of your newly created bag so that it folds in the other way. Since you have created the base, you do have a rough idea of its dimensions. If not, you can always measure the same, and trim the cardstock in a manner that it fits the base. This will make your paper bag comparatively stable.
Step 8 – To create the handles

This is the last step, wherein you will have to punch the holes in the bag to create the handles. While punching, be careful of the hole’s alignment, so that it is approximately 1.5 inches (roughly 3 cm) from the edges of the bag. Choose out the size of the ribbons or cords accordingly, and cut them after measuring (both must be of the same size). Then insert them via the holes and twist them out. Repeat it with the other handles as well.
Done? Your new gift bag from an unused piece of wrapping paper is ready!
Some quickies you must remember
Assuming that you have read this know-how guide well, you do have a fair idea now of how to make a bag out of wrapping paper. However, before you kickstart the process, there are a couple of things you must remember. They are –
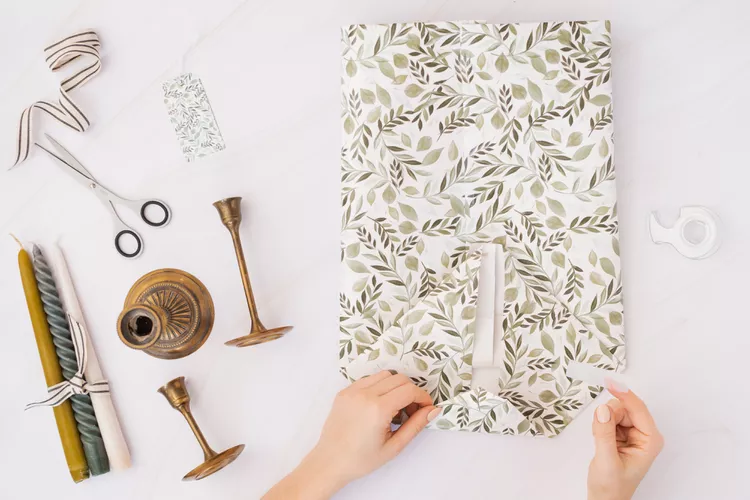
- While you are folding the bottom part, you must be extremely cautious since it needs to be folded evenly. That is the base, and if not done well, your bag’s shape will change (it will become asymmetrical).
- If you are having some problem with the length of the bag while crafting the same, leave it there and carry on with the rest of it. For the unversed, the length of the bag can be adjusted once you are done creating the bag.
- Also, it is natural that you will choose a hardy wrapping paper to create the bag, but just in case it is fragile – you could simply back it up with a thicker paper. Measure the edges well, so that the paper does not pop out strikingly.
Remember these couple of things, and assuredly, you will have a wrapping paper bag that’s unique.
Last thoughts
With the world moving towards the reusability of paper or picking up eco-friendly products, creating a regular or a gift bag from wrapping paper is one of the best ways. This guide on how to make a bag out of wrapping paper hopefully has given you clarity and detailed know-how on the same. You can try this DIY technique and if you customize it in any way, do let us know of the same. Keep visiting this website for more exciting guides like this!

